1. Daye Metal Corner Bead;
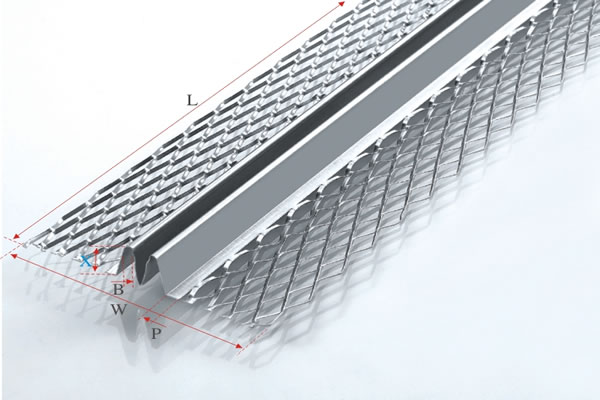
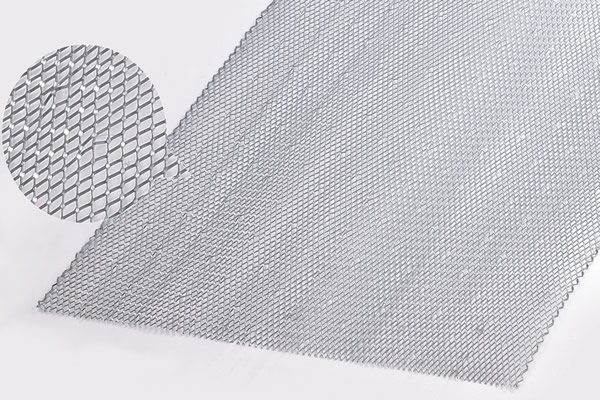
2. Daye Metal Plaster Mesh;
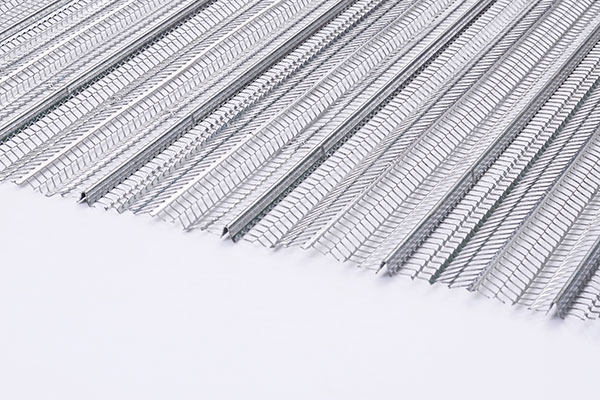
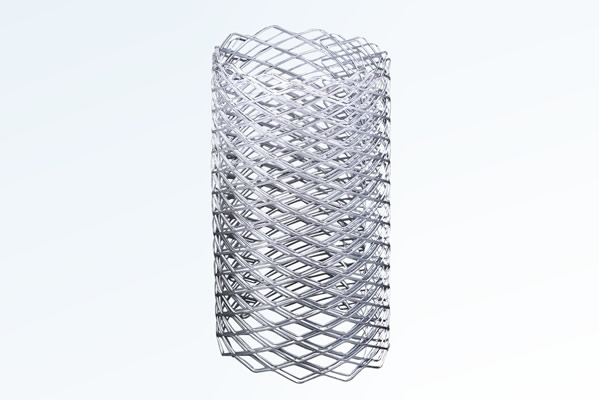
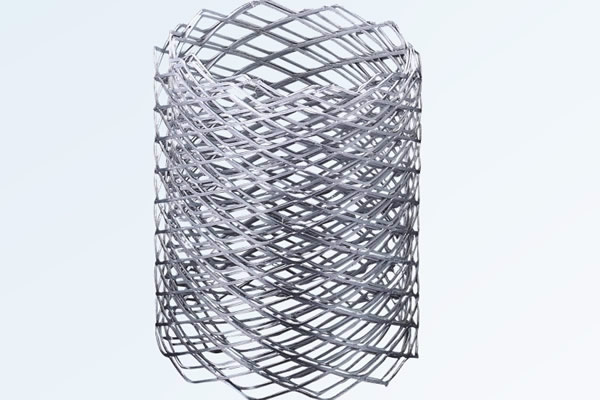
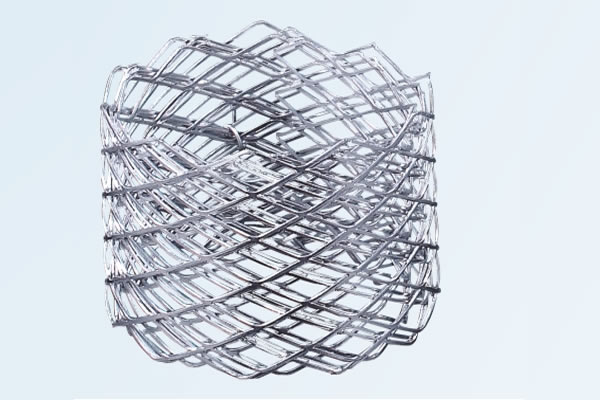
3. Daye Metal Coil Mesh.
With a high-tech R&D team and powe rful factory,our products have got many patents and professional awards, including registered patents GEM and VIVIAN.

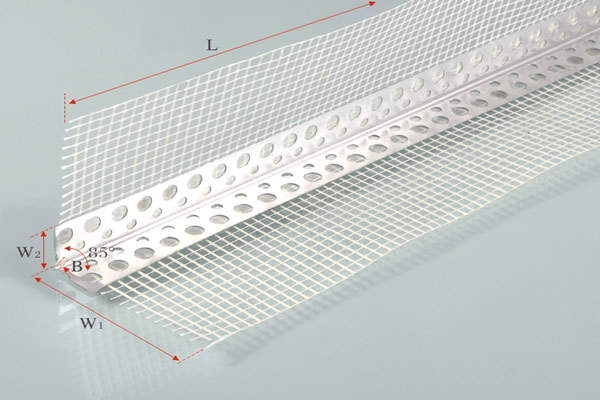
2. Daye Metal Corner Bead
Daye Corner Bead is made of galvanized alumimium and stainless steel. Now we have about 60 types for corner beads in terms of features.
USAGE:
Apply for surfacing and plastering stages. Apply to both interior and exterior use.Position at door edge, column, girder, wall edge corner.
Unite with cement rendering. Forming right angle, rounded edge, regular straight. Limit edge chipping. Increase speed in execution.
Installation
Installing corner bead is a fairly simple intermediate step between hanging wall corner and the beginning of your wall corner taping and mudding steps.
Necessary Drywall Supplies & Tools
Metal Corner Bead
Tin Snips
Tape Measure
Screw Gun or Drill
1 1/2” screws
Corner bead is available as either galvanized metal or PVC (plastic). We prefer to use metal, as plastic occasionally cracks during the fastening process and also provides less protection to your corners. So Daye Corner Bead is a must for your home decorations.
Applying Corner Bead
#1- Cut the Bead
Measure the length with a tape measure and cut a piece of bead for each outside corner. Use a pair of tin snips to cut in from each side of the metal and then bend it in the middle to break it apart.
#2- Fasten with Drywall Screws
Hold the bead against the corner while pressing hard on the peak with your palm to flatten it tightly to both walls. Start near the top and drive a 1 5|8 or 2 inch drywall screw through one of the small holes in the metal and into the wall frame. Drive a screw into the opposite wall at about the same level, but not directly across, to hold the bead in two places.Sink the heads of the screws deep enough to slightly kink the metal and make a small depression in the drywall. If the screws are not driven far enough below the surface of the wall, the heads will show through the mud and be very visible.Move along the length pressing at each point and driving the screws at about 12 inch intervals along both walls. Check to be sure the metal is flat the full.length of the wall. Run a joint knife over it to check for any spring in the metal and drive a screw at any loose edges.
#3- Apply Joint Compound
Use a 6 inch drywall joint knife to apply a thick coat of setting-type joint compound in crossing strokes along both walls, from one end to the other.Use a very thick coat that covers all the metal and spreads well onto the thedrywall.Remove the excess mud to float the surface into the corner. Rest one side of the knife blade on the bead peak and the other against the drywall. There will be a slight dip in the wall where the two meet, float the knife over this dip to fill it in with a solid coat of mud.Stroke starting at the end and keep the knife straight as it rides along both surfaces. Don't push too hard on the blade to avoid bending it and causing a depression in the mud coat. Float the blade to keep the mud as level as possible.
4- Smooth Out the Corner
Float the other wall in the same way. Clean the mud off the joint knife frequently as you work to avoid buildup. When you finish, go back to the start and run the clean blade along the whole length of each wall again, in one smooth stroke to leave a level surface.Skim along the wall edge of the mud to remove any buildup there and blend it flat before moving on. This will insure you don't have to do a lot of extra sanding at the edges when you're done. Sanding too hard at the edges can tear into the surrounding drywall paper, which would then need to be repaired.Before leaving the mud to set, scrape the peak of the corner by running the knife blade upward to cut it off. When you're done, let the mud set completely before proceeding. Setting compound will set in anywhere from 5 minutes to over an hour depending on the type you use, so check the label or just wait until it feels solid.
5- Apply a Second Coat of Mud
When the mud is completely hard, use a larger joint knife to apply a second coat using ready-mixed compound. First scrape over the hardened mud with the blade to knock off any rough spots and then apply a thick coat of compound onto both wall surfaces. Use crossing strokes to cover the corner completely and overlap the wall edges of the first coat.Smooth the mud starting at one end and stroke all the way to the other. Use light pressure to avoid bowing the knife blade. Skim the excess mud from one wall at a time, working ceiling to floor, and then do the same on the other wall. Be sure to skim off the edges of the mud to feather it into the wall.Go over the whole length of both walls again with a clean blade and very light pressure to catch any pits or scratches and smooth the surface. Let the mud dry for about 12-24 hours and check the finish. If there are pits and scratches in the dry mud, apply another coat and skim it off in the same way.When the final mud coat dries, sand it lightly with medium grit sandpaper using light pressure along the edges to avoid tearing into the drywall paper.